QNX on Pi 400: Make your own image!
In this post we leverage the QNX 8 Custom Target Image repo for Raspberry Pi 4B to make a similar image for the Pi 400.
The QNX Everywhere team, a couple of weeks ago, launched a new repo with a system to build your own custom QNX target image for the Raspberry Pi 4 B. In this post we'll look at what changes you can make to build an image for the Raspberry Pi 400, which also uses the BCM2711 SoC.
Overview
The process to adjust the build for Pi 400 is pretty simple. Here's the high-level overview:
- Clone the source repo
- Update some Makefiles to pull down the right drivers
- Edit snippets to swap to the right driver files
- Build & flash the image
- Connect to Wi-Fi
Let's get started!
Prepare The Pi 400 Image
Clone the source repo
First you'll need to clone the source repo we'll be working with. Note that the build is only designed to run on Linux hosts right now. (If you're on a non-Linux host, you can use a QNX Docker container to run the build!)
- Clone the repo from here: https://gitlab.com/qnx/custom-target-image-builds/raspberry-pi-4-qnx-8.0/-/tree/release/CTI-8.0.2
- Important! You must build the image as-is first before making any modifications. Follow the instructions in the README in that repo to complete a successful default build.
Update Makefiles
We need to make two mandatory changes to convert the build from a Pi 4B build to a Pi 400 build: change the DTB device tree source file and the Wi-Fi drivers.
- In the cloned repo, open
/boot/Makefile - Replace all instances of
bcm2711-rpi-4-b.dtbwithbcm2711-rpi-400.dtb - Change the URL on line 35 to the URL of the new DTB file:
wget https://github.com/raspberrypi/firmware/raw/refs/heads/master/boot/bcm2711-rpi-400.dtbLine 35
- Save that file, then open
/boot/wifi/Makefile - Make the following replacements throughout the file:
cyfmac43455-sdio.binbecomesbrcmfmac43456-sdio.binbecomes
cyfmac43455-sdio.clm_blobbrcmfmac43456-sdio.clm_blobbecomes
brcmfmac43455-sdio.raspberrypi,4-model-b.txtbrcmfmac43456-sdio.raspberrypi,400.txt - Adjust the URLs for the three Wi-Fi drivers to new URLs:
- Line 29:
wgethttps://github.com/armbian/firmware/raw/refs/heads/master/brcm/brcmfmac43456-sdio.bin - Line 32:
wgethttps://github.com/armbian/firmware/raw/refs/heads/master/brcm/brcmfmac43456-sdio.clm_blob - Line 35:
wgethttps://github.com/armbian/firmware/raw/refs/heads/master/brcm/brcmfmac43456-sdio.raspberrypi,400.txt
- Line 29:
- Save this file
Edit snippets
Our Makefiles are now set to download the new DTB and Wi-Fi driver files. Next, we need to adjust the build's snippets so that the new files are used in the build.
In your project directory you have a qnx800 directory, which was added after you successfully completed a default build to prepare.
- Navigate to the directory:
./qnx800/host/common/mkqnximage/extras/rasppi/rpi/snippets/ - Copy these two files from this directory to
snippets/in the root of your project folder:boot_files.99.type_rasppisystem_files.type_rasppi
- Next, open
/snippets/boot_files.99.type_rasppiand replace all instances ofbcm2711-rpi-4-b.dtbwithbcm2711-rpi-400.dtb - Then, open
/snippets/system_files.type_rasppiand replace lines 15-17 which begin with[perms=444]...to use the new Wi-Fi drivers:
[perms=444] etc/wifi/firmware/brcmfmac43456-sdio.bin=brcmfmac43456-sdio.bin
[perms=444] etc/wifi/firmware/brcmfmac43456-sdio.clm_blob=brcmfmac43456-sdio.clm_blob
[perms=444] etc/wifi/firmware/brcmfmac43456-sdio.raspberrypi,400.txt=brcmfmac43456-sdio.raspberrypi,400.txt- And lastly, in this same file, change lines 25-27 to have the new Wi-Fi driver filenames:
fw=/system/etc/wifi/firmware/brcmfmac43456-sdio.bin
nvram=/system/etc/wifi/firmware/brcmfmac43456-sdio.raspberrypi,400.txt
clm_blob=/system/etc/wifi/firmware/brcmfmac43456-sdio.clm_blobBuild and Configure the Image
Build it and flash it!
Okay! We're ready to build it. If you run make again, you should find that the build is much quicker than the initial build (maybe 1 minute at most), and it should result in a new rpi4.img file in the root directory of your project.
Use this file to flash the SD card for your Pi 400, then insert the card and power on the device.
Connect to Wi-Fi
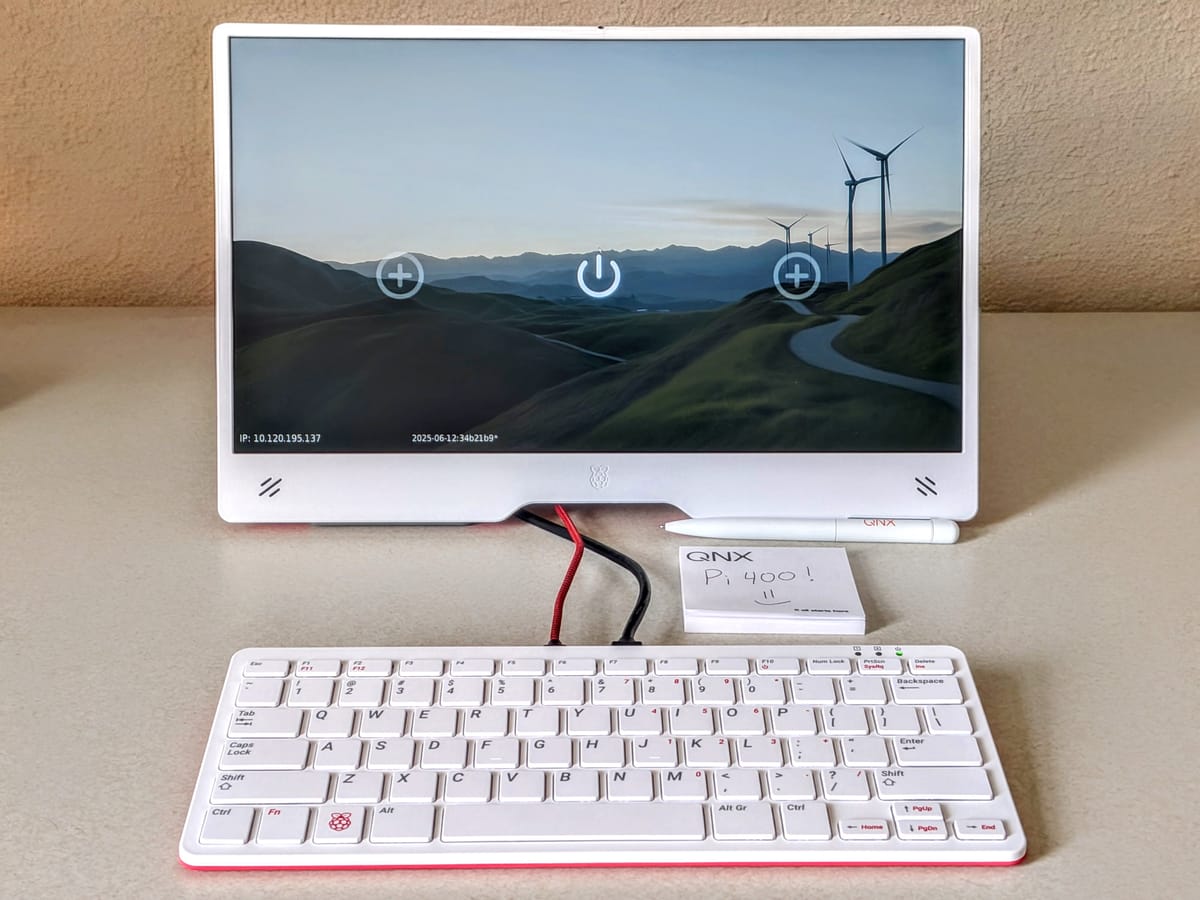
After a few moments you should see the familiar rainbow screen and then the (rather plain) landing page of the QNX demolauncher! (Back in the original repo there is a lot of information about how to customize this launcher.)
To set up a Wi-Fi connection:
- Click the center icon to open a terminal
- Edit the Wi-Fi configuration file to add your network credentials:
vim /boot/wpa_supplicant.conf - Reboot the Pi 400
Just For Fun
Here's a few simple things you might want to try to further customize the build!
- Edit
Makefile,mkqstiimage.sh, andrpi4.configin the project root folder to change the resulting image name fromrpi4.imgto something else (pi400.img?) - Modify
qnx800_rpi4_welcome_msg.txtto change the text shown when you log in as a user in the terminal on the Pi 400 - Change
src/Makefileto remove some of the extras or to add your own extra files, libraries, or programs
Troubleshooting
If you're having trouble with this process, try the following options:
- Read the Troubleshooting section in the original repo for ideas
- Post your issue on r/qnx for some community help
I hope this process worked well for you, and I'm looking forward to hearing what you're doing with your Pi 400! Cheers!


