New Sample: Rainbow HAT with QNX
Check out the new C and Python sample code to use the Rainbow HAT with QNX.
The QNX Everywhere team has been on a run of really great samples to pair with the Raspberry Pi 4B quick start image lately. We've released samples for:
- the SHT3X temperature and humidity sensor
- LCD1602 displays using I2C
- the BH1751 light sensor on I2C
- the MAX7219 8x8 LED matrix
- analog joysticks (plus a game combining one with an 8x8 LED matrix!)
- ... and more!
Not only that, but the team has also added more documentation for the QNX Pi GPIO Python modules, plus added even more functionality into the C rpi_spi and rpi_i2c libraries.
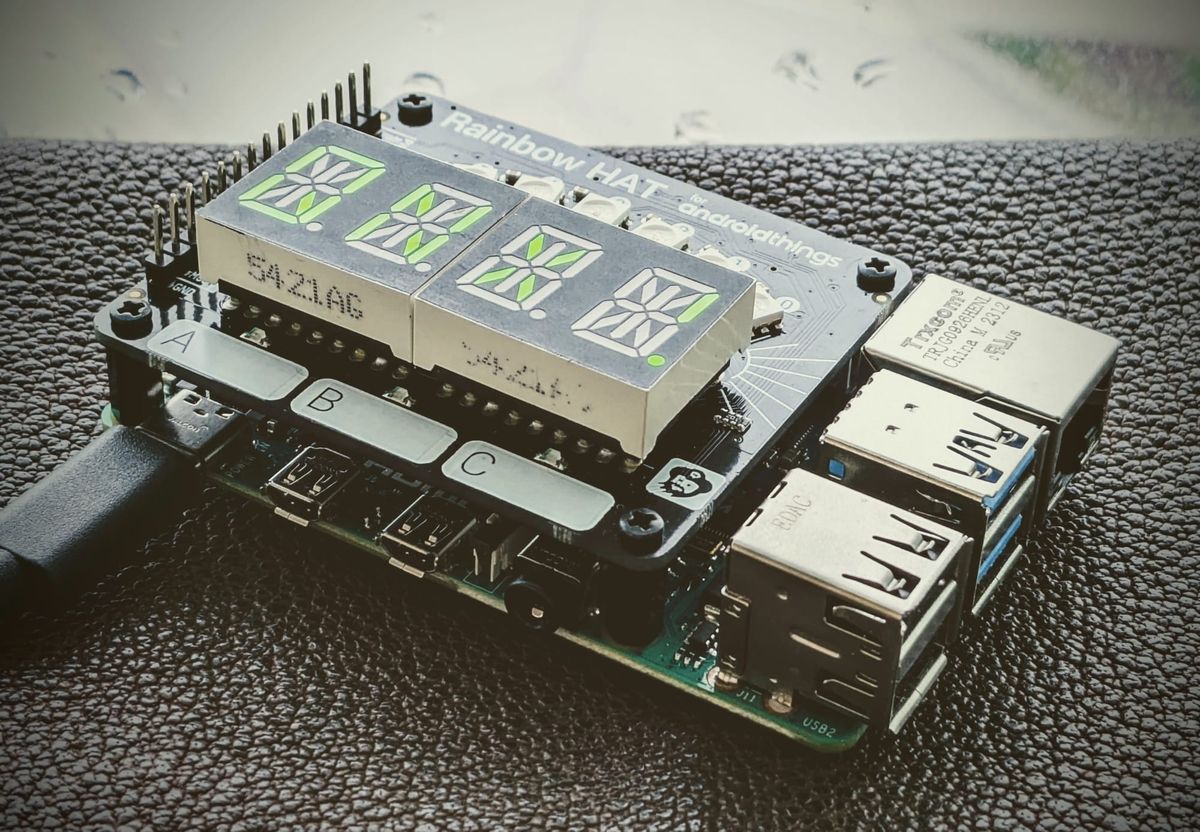
But one of my favorites so far is the QNX library for the Pimoroni Rainbow HAT. This board is now deprecated by Pimoroni but there are many still to be found in various online shops. It's a great general purpose board since it has several different input and output capabilities to experiment with.
Though the board may be deprecated, the various components (like the BMP280 temperature and pressure sensor, the HT16K33 for various LED outputs, and the RGB LEDs) are commonplace in other boards and the sample code is very transferable.
Here's a short review of what's on the board and how to use the library to work with each component.
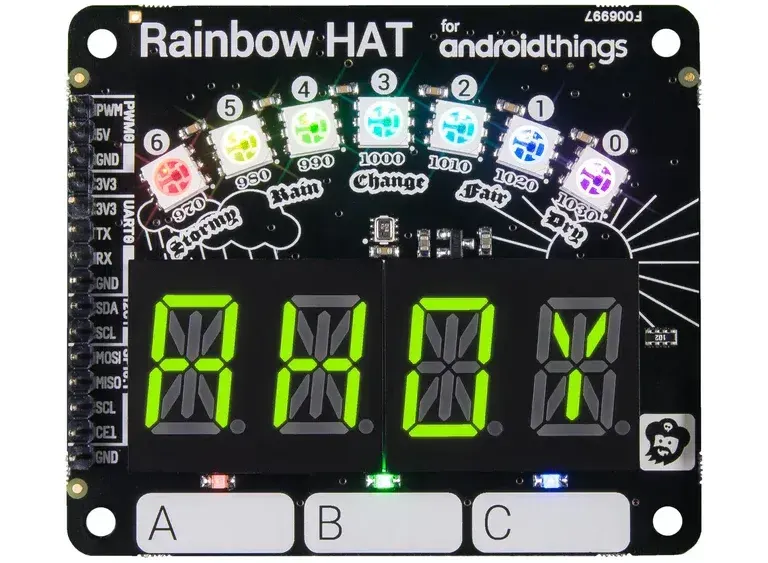
QNX Library for Rainbow HAT
Each of the inputs and outputs on the Rainbow HAT is covered by the Rainbow HAT QNX library, and each has its own sample. The board includes:
- 7 x APA102 RGB LEDs
- 4 x 14-segment alphanumeric displays (green), using a HT16K33 display driver chip (I2C)
- 3 x capacitive touch buttons
- 3 x LEDs (blue, green, and red)
- 1 x BMP280 temperature and pressure sensor
- 1 x piezo buzzer
APA102 RGB LEDs
These RGB LEDs are interesting in that they use a SPI-like two-wire interface, instead of the single-wire interface you see with WS2812s. These are also insanely bright! 😎 Run the example C program to see a fading rainbow animation.
rainbowhat.rainbow.set_all(100, 100, 100)
rainbowhat.rainbow.show()
for (int led = 0; led < APA102_NUMLEDS; led++) {
set_rgb_led(led, 100, 100, 100, 50);
}
show_rgb_leds();
14-segment Alpha Display on HT16K33
This display may be the main attraction here – output whatever you want in the form of letters, numbers, symbols, or shapes! The HT16K33 is the star behind the scenes, controlling output to the 60 LEDs here.
The sample shows outputting numbers and letters, but the functions exist in the library to fully customize the output in case you want to do boxes, animations, etc.
rainbowhat.display.clear()
rainbowhat.display.print_str(text)
rainbowhat.display.show()
clear_alphanum();
set_alphanum_string("QNX!");
show_alphanum();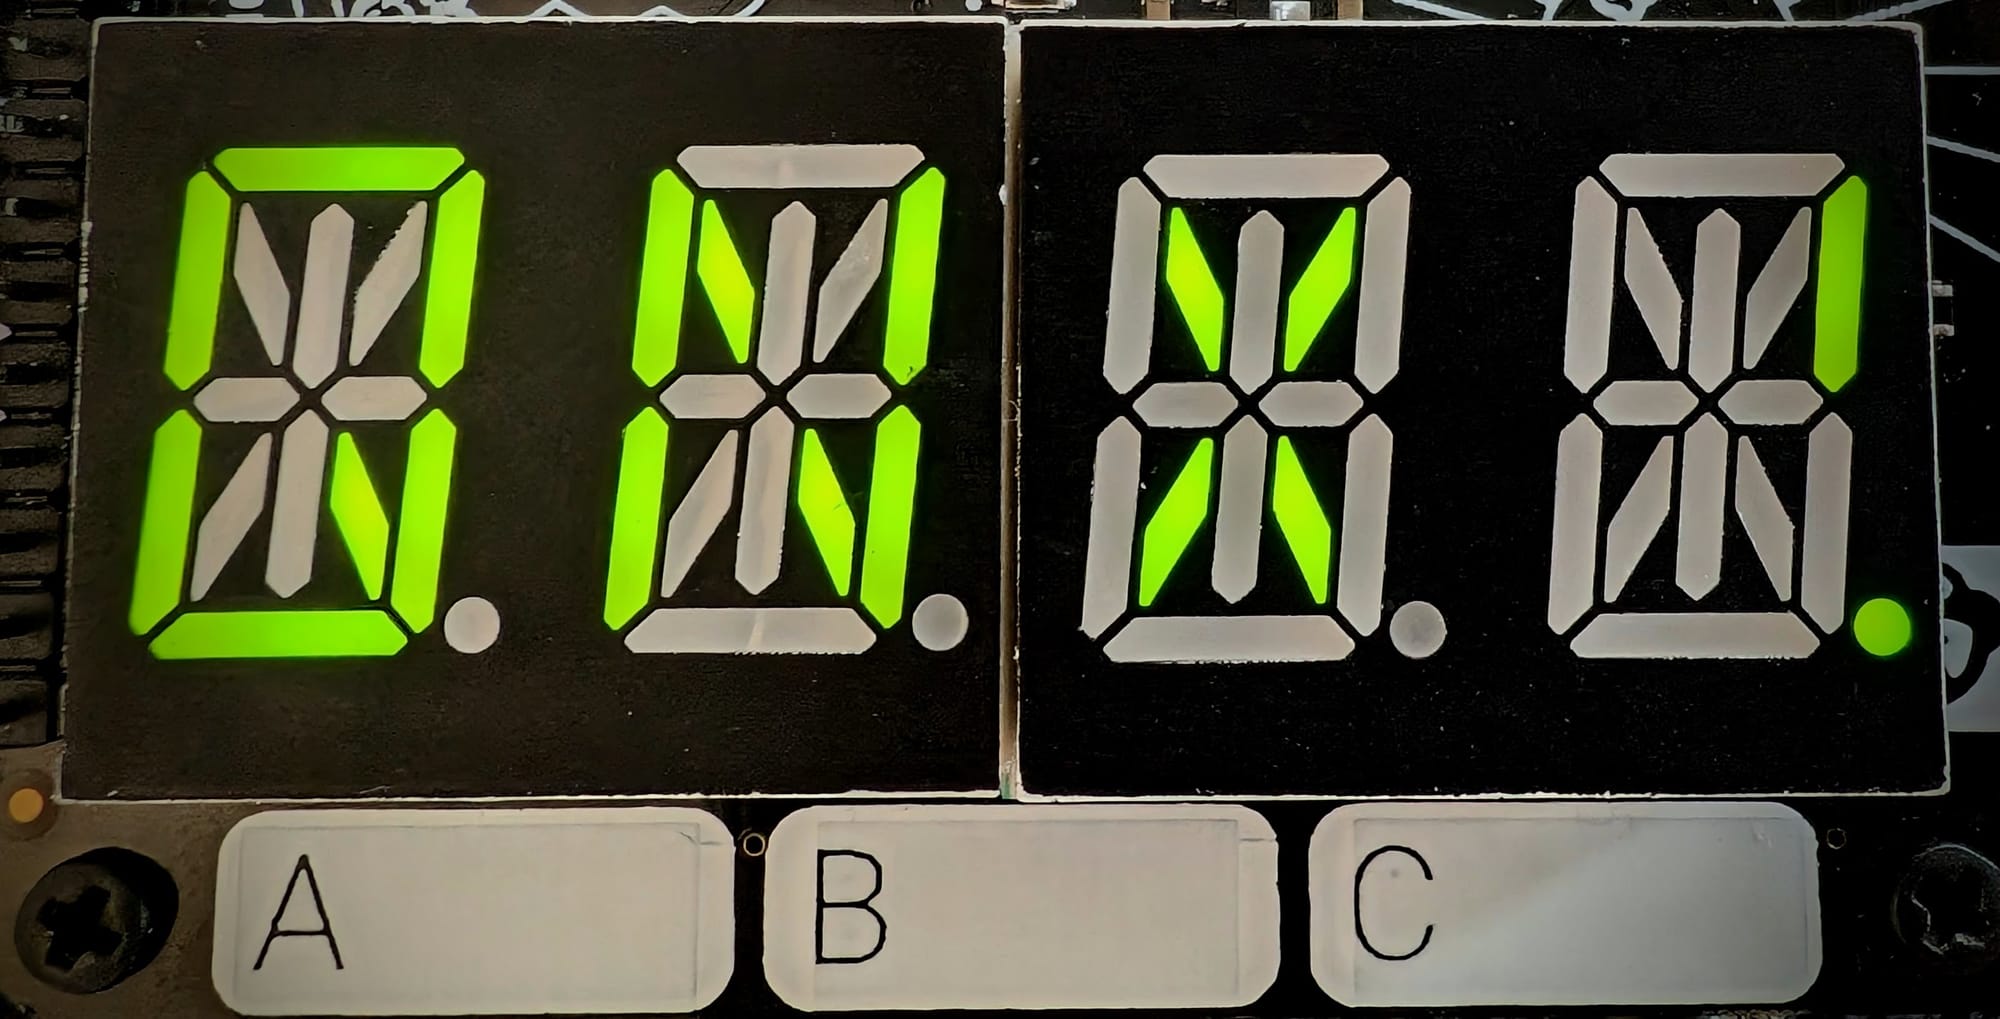
Touch Buttons & LEDs
These are pretty basic and mimic what you'll see in our generic LED blink and Button samples as well as what's in the Trilobot library.
rainbowhat.lights.rgb(1, 1, 1)

@rainbowhat.touch.press()
def test(index):
   print("Touched: ", index)
   showString("BUT" + str(index))
set_led(Led_RED, 1);
set_led(Led_GREEN, 1);
set_led(Led_BLUE, 1);
button_state = read_button(0);
BMP280 Temperature & Pressure
The BMP280 is one of the more (mathematically) complicated components to implement, but the output is one of the most satisfying. You can collect ambient temperature and atmospheric pressure, though keep in mind if the HAT is mounted right on top of the Pi, the temperature may be slightly higher than expected due to the operating temperature of the Pi.
temp = round(rainbowhat.weather.temperature() / 2.5, 1)
pres = round(rainbowhat.weather.pressure() / 2.5, 0)
double temp = 0.0;
double pres = 0.0;
get_bmp_data(&temp, &pres);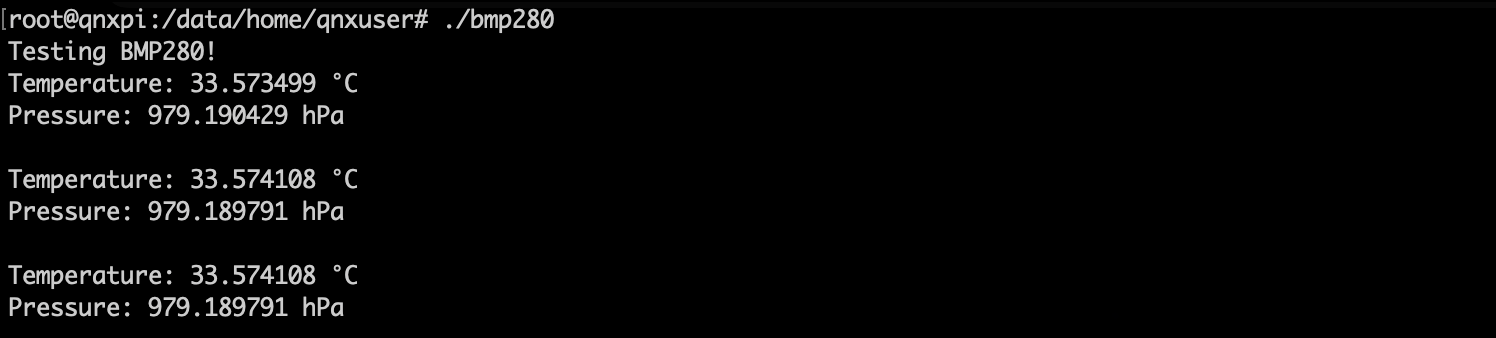
Piezo Buzzer
Last but not least, my favorite output on the board: the buzzer. The sample for this component demonstrates playing a short song by defining constants for an octave of notes then playing them one by one.
rainbowhat.buzzer.note(440,1.0)set_buzzer_freq(440, 1000);That's it for today! Please let us know if you use this library (feel free to fork it and modify!) or if the individual component implementations have been helpful to you.